Churning A-Whey Homemade Butter
I am so excited. I made my own butter! It was simple to make and I can’t imagine why everyone doesn’t do it too. Since most people are Banting or following Tim Noakes and his full dairy revolution cream and butter have become quite expensive. A liter of cream still costs much less than 500g of butter. On a long road trip into the bundus, like we’re planning on doing, food supplies will be limited and we thought we’d probably find plenty of rich, creamy milk in most villages in Africa but selecting butters, cheeses and yoghurts will be another story. With that in mind we started investigating butter-making, yoghurt-making and who knows even feta cheese making might be on our cards. It's a challenge we're excited about.


Here is my very simple butter recipe. Do take note though, if you opt for an old fashioned method of whipping or churning your cream you might find it tiresome as the beating takes at least 15 minutes of vigorous shaking without stopping. Using an electric beater is much easier and less time consuming. I took my Kenwood out of storage, dusted her off, gave her a good wipe down and off she went. Once we're on the road we'll probably be shaking the old canned fruit bottle, good for the arms and those wobbly bits.

HOMEMADE BUTTER
It is essential to whip the cream until the whey separates from the butter fat, the consistency is quite “crumbly” and the “buttermilk” starts seeping out.
Drain the buttermilk from the butter. Keep the buttermilk to use for baking e.g. rusks, scones or cakes
Put a large stainless steel or porcelain mixing bowl in the refrigerator to cool down
It is very important to knead the butter in a bowl of icy cold water until all the buttermilk has been removed.

Sprinkle the salt over the butter and knead until the salt has been incorporated. Do remember to keep the butter cold as butter melts at a very low heat.
If you use a lot of butter and enjoy the taste of “old fashioned” butter the way your Grandmama made it leave it unsalted, it’s delicious.


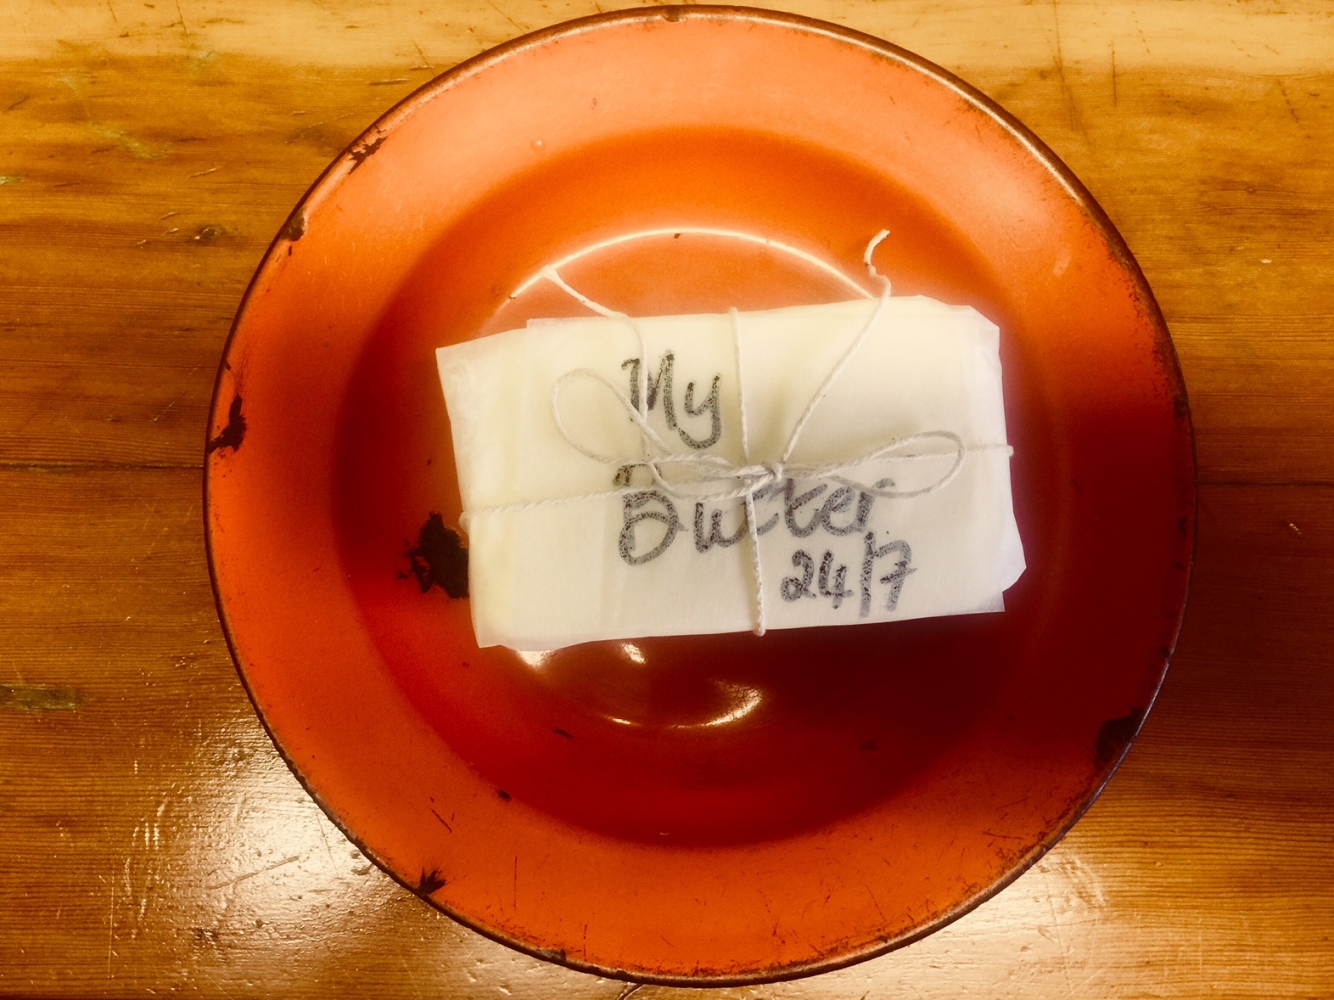
Once the salt is evenly spread and the butter becomes firm press into a butter mould. Remove from the mould and wrap in baking/greaseproof parchment. Tie with a pretty string and refrigerate until needed.
I have made a short one minute movie showing how I did it, hopefully it’ll give you an idea.
We spread copious lashings of butter onto our crackers last night. The taste was just the way my Ouma made hers. Not only did it taste good, the salt was the only additive and it spread like velvet, smooth and rich in colour too. One certainly has a great feeling of achievement when you open the fridge and there's something you made yourself. A pound of butter makes a wonderful gift too.

Bon Appetito amigo!


Comments


Topics
Latest Photos